How to Prep a Canvas or Panel for Oil Painting
Your first instinct when buying a canvas or a panel for a painting may be to jump right into painting, but you could be dooming your painting before you even begin. Follow these steps to prep your painting so it not only withstands the test of time, but also compliments your painting style.
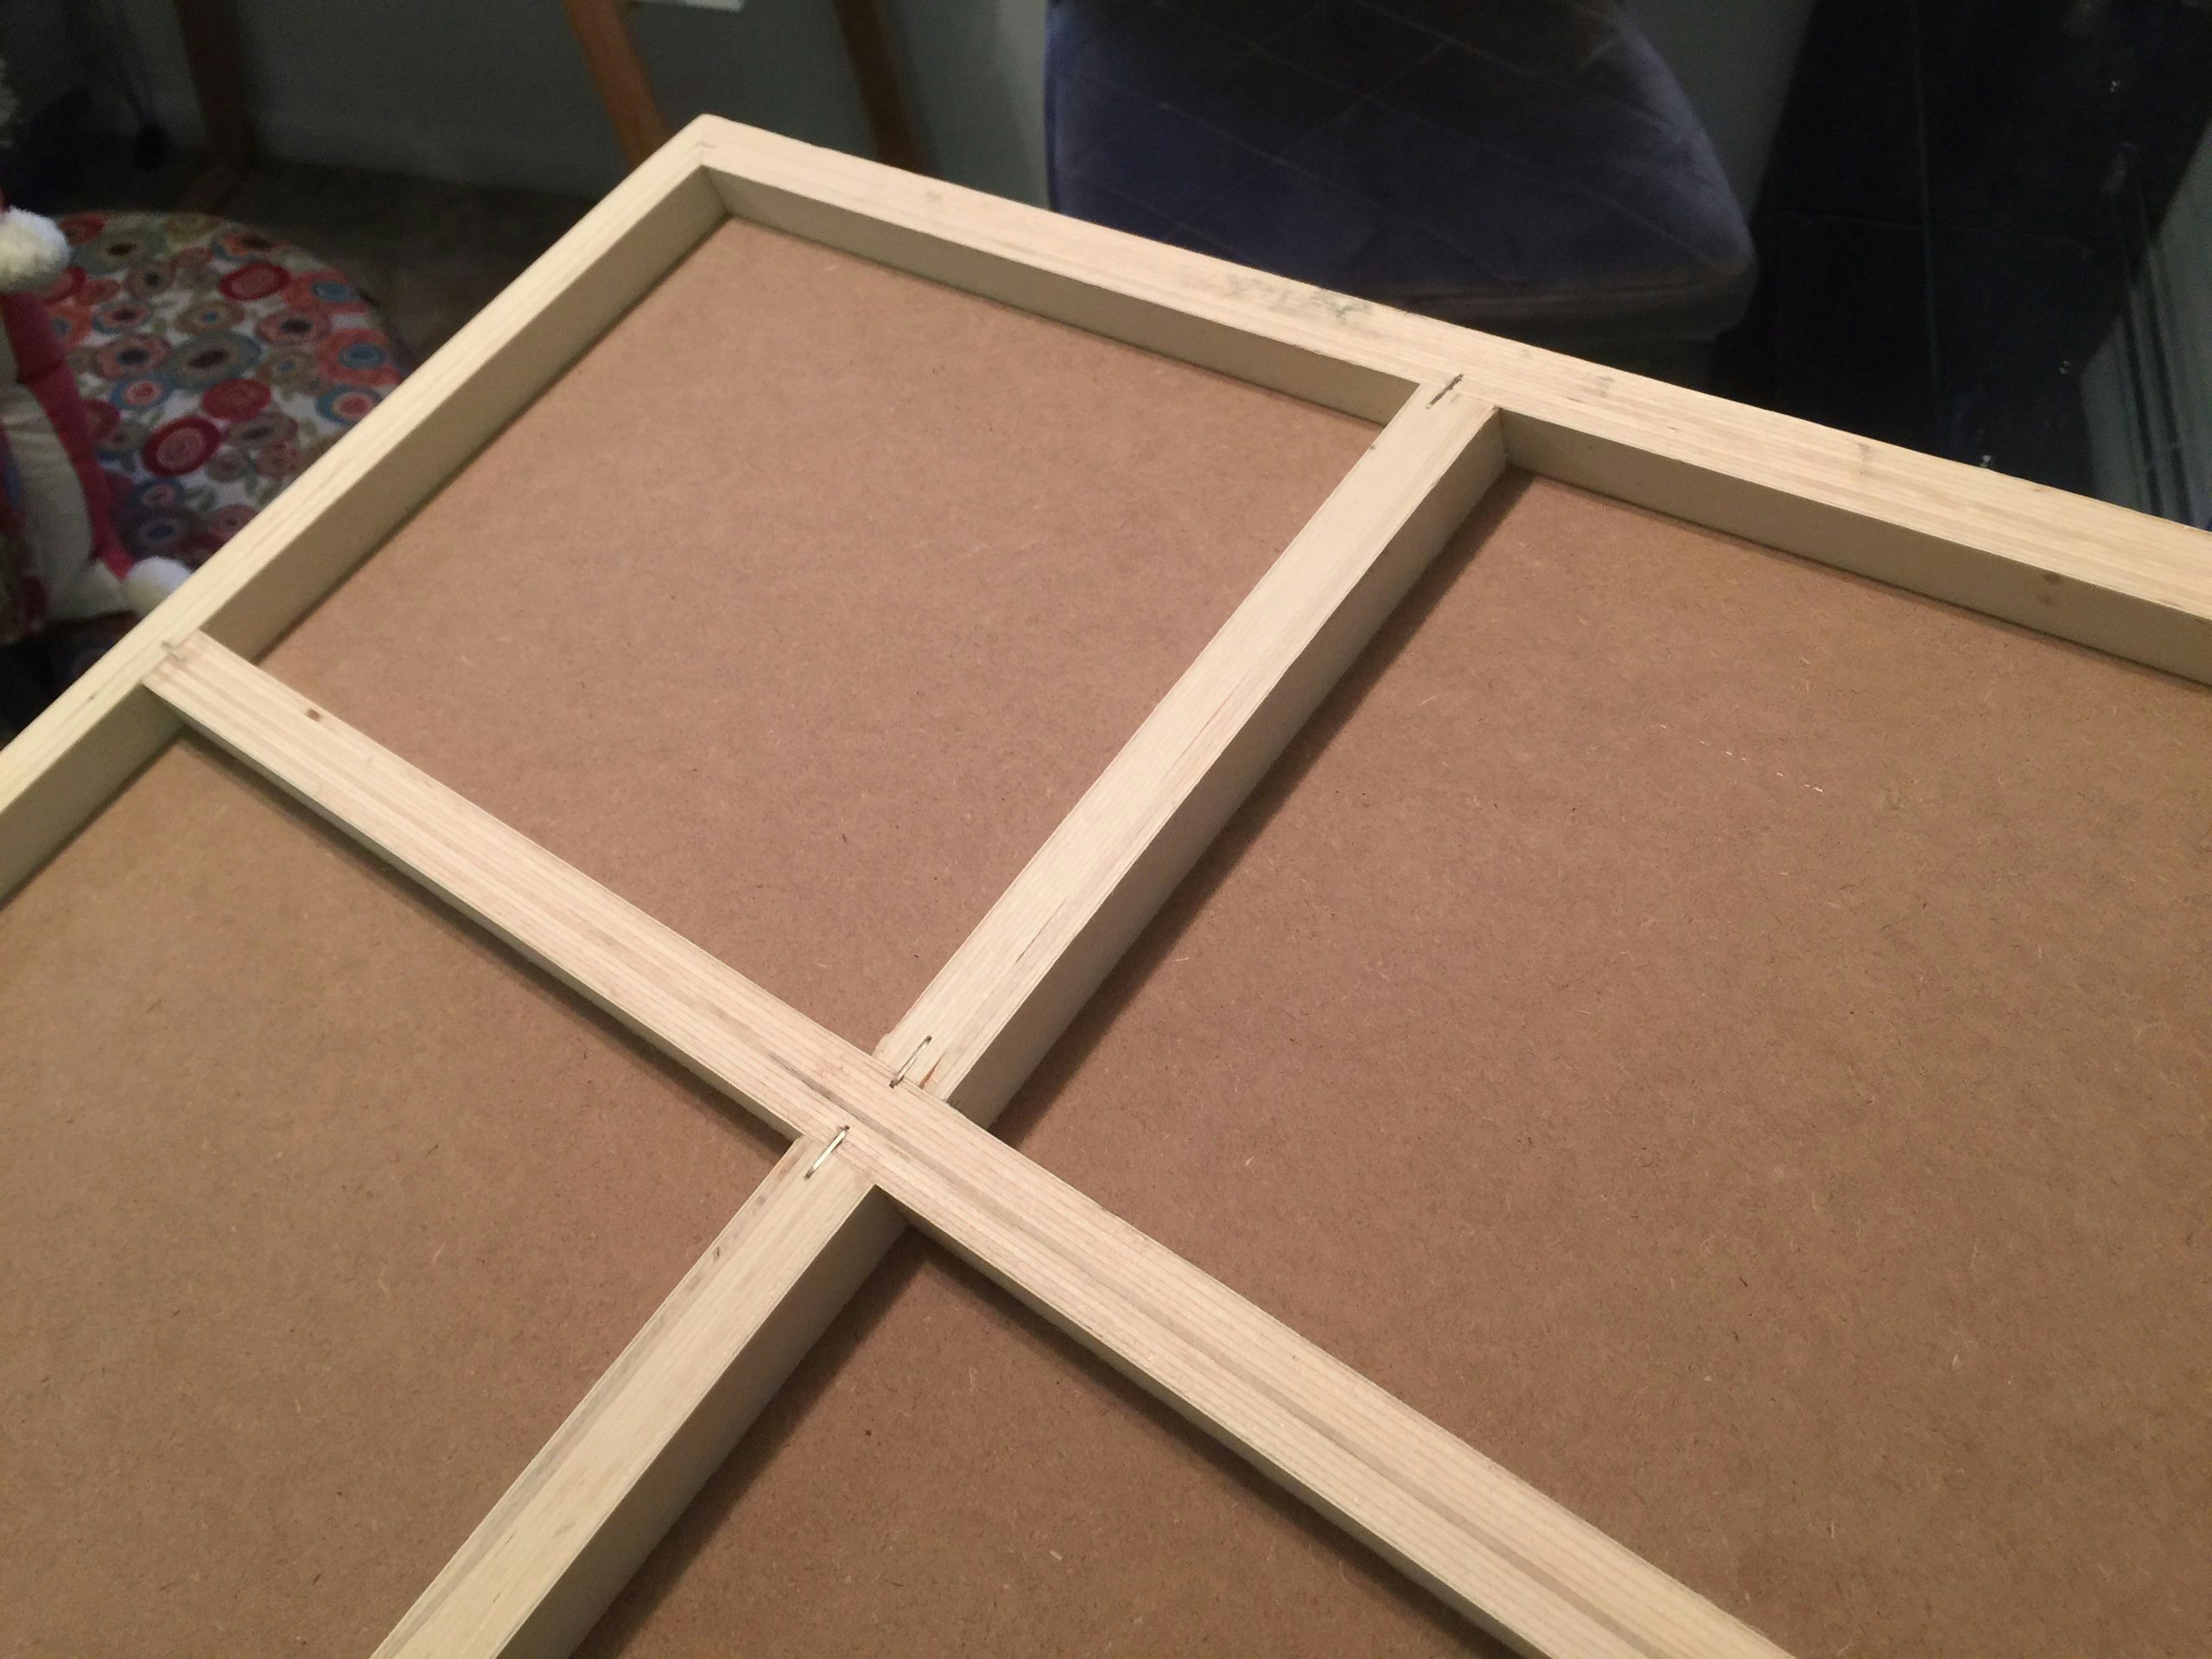
Panel or Canvas?
The first question to ask is if panel or canvas is right for you. The big differences are how much texture the surface has, or tooth, and how much the surface gives when you press on it.
Tooth
If you want to really load on the paint, exaggerate your brush strokes, and paint direct (more on direct painting in this blog post) then the heavy tooth of standard canvas is the way to go. Panel is much smoother, especially masonite, which I prefer. This is better for fine detail, thinner paint, and indirect painting (Again, more on this in this blog post - if you aren't sure of the difference, assume you are direct painting).
Give
The other variable is give or play. Canvas is literally a suspended piece of fabric, so when you press on it, its going to move. If you stretch your own, you will have control over the exact amount of give, assuming you like that. It lends itself to expression and aggressive movements. Panel on the other hand doesn't move. It lets you get as tiny with your details as you want.
That being said, some intricate work has been done on canvas. I suggest getting a small canvas and a small panel and trying both before tackling a big project.
"So I Can Paint Now, Right?" Wrong! haha.
Priming
You could get away with that if you were painting with acrylic paint. When acrylic cures, it becomes exactly that - acrylic. Acrylic is plastic and plastic isn't going to cause serious chemical issues with linen canvas or wood.
Oil paint is oil (hence the name), and you can imagine what would happen is you took a burlap sack and let it sit in cooking oil for years. It's going to decompose. You don't want your painting to decompose...or do you? Don't listen to me, do you!
If you don't want your painting to decompose, you have to prime it like you would prime a wall. You can do that with acrylic gesso. You want to put a minimum of 3 coats on it and let each dry completely in between. For a smoother surface you can sand in between each.
Keep in mind that oil paint will stick to acrylic paint (which is why acrylic gesso works and you don't have to use whiting and rabbit skin glue to prime), but you can never put acrylic on oil. Don't even try it.
"I have a primed panel, I can surely paint now right?" Maybe! Now you have to consider your ground, or if you even want one.
Picking the Ground that Works for You
Your ground is essentially the color you're going to paint on, but there's a bit more to it than that. There are 4 different options here, without getting too wild. Those options are no ground (white), a transparent 'imprimatura,' a solid color dry, or a solid color wet. Let's go over each one.
No Ground
For me, this is the toughest to paint on. A pristine white surface is intimidating for me. I honestly don't have enough experience to tell you many pros to this ground, but if you work transparent, you will end up with a luminescence that really makes your painting glow. Light will pass through your transparent paint, reflect off the white and pass back through. The biggest con is that you miss out on some of the benefits of painting on a middle value, which I'll expand on next
Imprimatura
An imprimatura is a way of maintaining the luminosity of painting on white, but with the added advantages of painting on a middle value. It is essentially a transparent layer of a color (traditionally burnt sienna) that darkens the surface, but doesn't completely cover the white and maintains its luminosity. You also want to wait for this layer to dry before painting over top of it to maintain the transparency.
It can be tough balancing you darks and lights in a subtle way when you paint on straight white, but on a middle value, you only have to worry about half of your values at any given time. You can make the paint lighter than the ground or darker than the ground, but you can always compare everything to that middle value and it lets you control your subtlety in value a bit more. If you are working in a realistic style, this can be an invaluable tool.
Solid Color Dry
The biggest difference between a solid color dry and an imprimatura is opacity. Solid color grounds completely cover the white of the primer and get rid of any luminosity. Like the imprimatura, you want to make sure this layer is dry before painting. These are good for darker paintings or ones with low contrast. They are also typically easier to draw on that an imprimatura.
Solid Color Wet
A solid color wet is exactly like the solid color dry, but you use oil paint (i recommend acrylic for all others because of the quick curing time) and start painting into it right away. This is essentially what Bob Ross would do, but only with clear, white or black. This lets you ignore paint consistency when mixing colors because your paints will flow right into the wet ground, rather than mixing medium into your paints to make them a more usable consistency. If you hate worrying about getting the right amount of medium on your brush to apply your paint, this ground is for you.
What all of these ground will do (except for not ground at all) is unify your colors into something cohesive. If you aren't great with color like me, a ground will be invaluable to you. Hell, even if you are great with color, you find a ground still makes sense.
So Can I Finally Paint Yet?
Yes...you deserve it after reading this novel of a blog post.