Direct vs. Indirect Painting

Whenever I talk about my work, people always ask, "what's indirect painting?" Honestly, I don't blame them. I created countless paintings before I had even heard of the term. So before I go into indirect painting, let's talk about what "direct painting" is.
Direct Painting
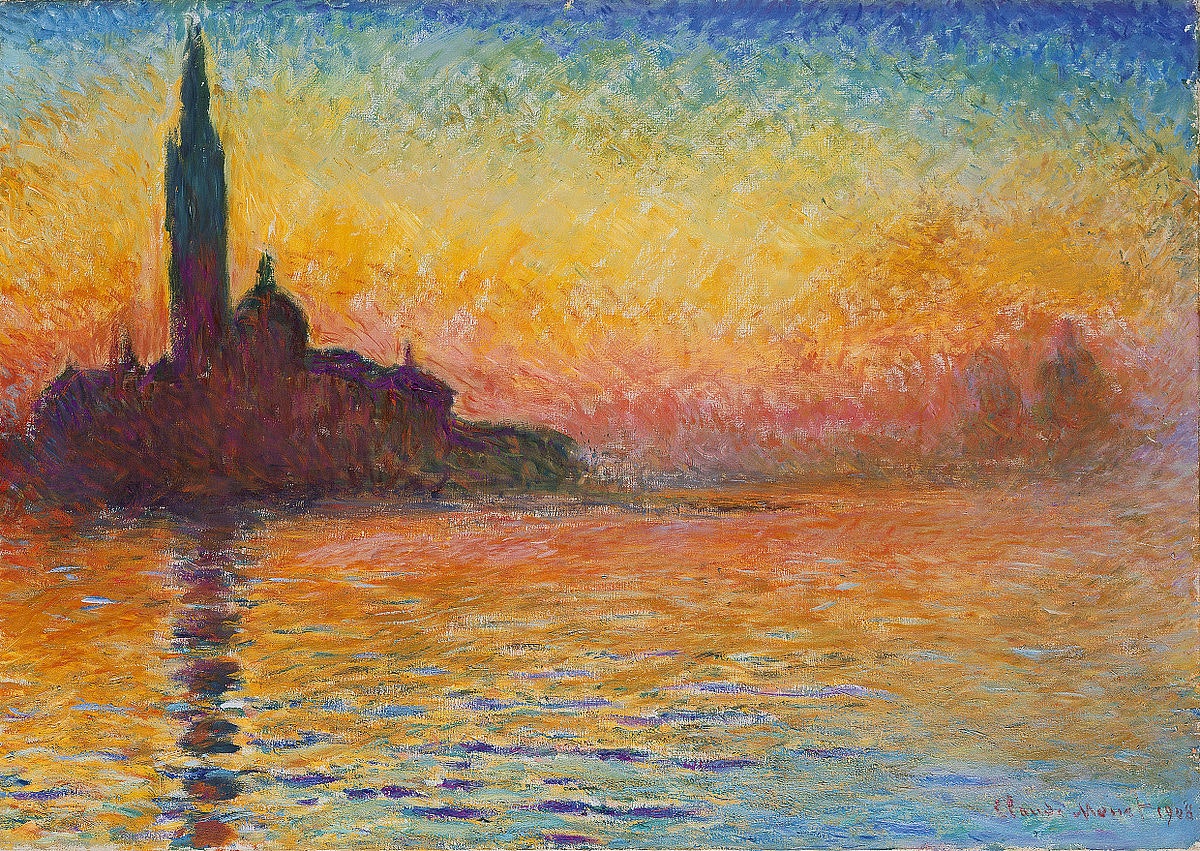
Direct painting is exactly that. Direct. You mix the color that you want on your palette and you put it directly on your painting surface. This is very common in contemporary art. Impressionists like Monet are really the epitome of direct painting. They were specifically trying to capture the essence of a fleeting moment and taking time to plan would only make them miss out on that perfect time of day when the light was just right.
There is certainly an added level of expression when you work direct. There is direct influence from the painters gestures and visible brush strokes add to that.
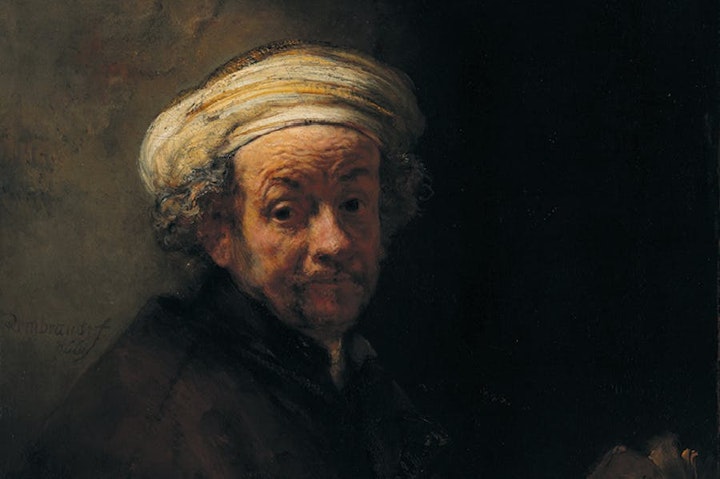
Now lets travel back to the 1600s. There were no cameras yet, but people still wanted to capture moments and images of their loved ones. Painters at the time were not interested in expressing themselves through their technique (they sneakily did it other ways). Their main goal was to represent reality. This lead them to go through extra measures to make sure their work was accurate, hence, indirect painting.
Indirect Painting
Indirect painting is very planned and individual aspects of the image are isolated so that you only need to worry about one thing at a time. It ensures that your image can't be skewed by "eyeballing it."
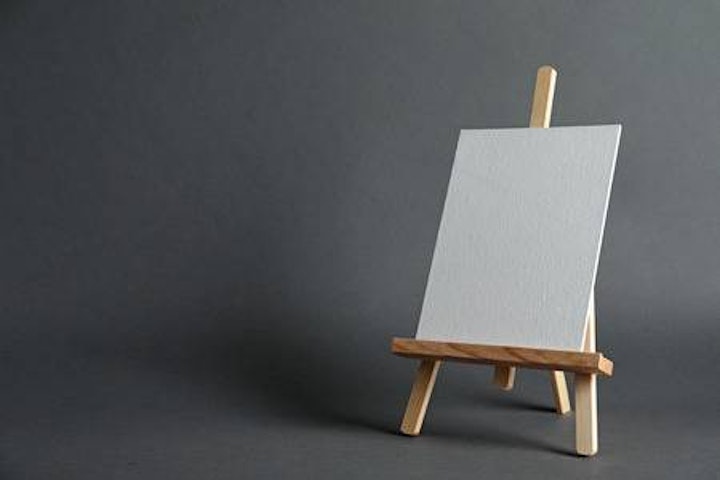
An imprimatura is traditionally applied to your surface (for more on imprimatura's see my blog post about that). This is because every layer of paint will be transparent like stained glass and it needs light reflecting off of the white of the primer.
The first step is a preliminary drawing. You can draw directly on your painting surface or on a piece of paper that will eventually be transferred. Then you begin painting a black and white (usually brown and white actually) version of your painting called a "grisaille." White and burnt umber are traditionally used and are never actually mixed. If a middle value is needed, you simply make your white or burnt umber mixture transparent and closer in value to the imprimatura.
The next step is to glaze color over the top of your grisaille. These need to be very thin and you usually want to take excess paint off with the butt of your hand. This process is going to destroy the contrast of your image and pull all your values toward the middle. This is why the final step is necessary.
The final and most fun step is working your lights and darks back into the image. I use white and black for this, but I will also tweak glazes during this step to make sure the final product is what I want.
Now you're a professional. Try it out yourself and send me what you come up with. I will certainly feature it on my blog!


